Over the summer I had the fantastic opportunity to intern in the University of Queensland learning innovation lab. The UQx lab is part of UQ’s contribution to the edX consortium, a group of leading universities developing an online learning platform. While many of the staff in the group are developing MOOCs, I was working with five other interns on other tools that could enhance teaching and learning at UQ through technology.
My supervisor was great, giving me the freedom to choose projects I was interested in and take them in my own direction. I have written in details about my main projects in previous posts:
 Creating a prototype lightboard for use in flipped classroom videos
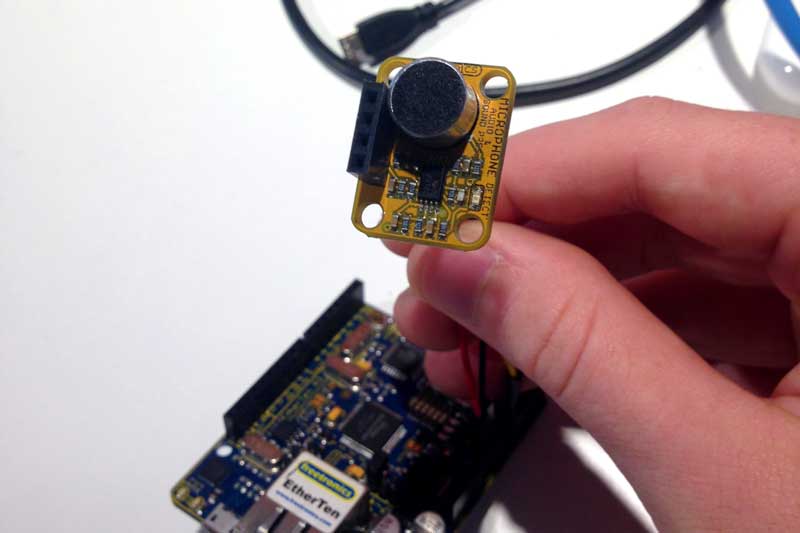 Using audio devices to monitor classroom activity in real-time
I also worked on some smaller projects. Similarly to Google they work on an 80/20 rule, so I had time to work on a few fun side projects that I was interested in. I will go over these briefly below:
1.Building a clock using LEDs and an Arduino
2.Rejuvenating an old lolly dispenser with UQ ID card scanning
3.Experimenting with recent breakthroughs in conductive materials
4.Setting up a DIYCNC milling machine for etching PCBs and engraving objects
5.Learning how to use the Raspberry Pi micro-computer
6.Twitter controlled Christmas lights
7.Fixing and using a 3D printer
I would absolutely recommend this position to software/electrical engineers with a passion for education and tinkering. It’s a lot of fun!
Building a clock using LEDs and an Arduino
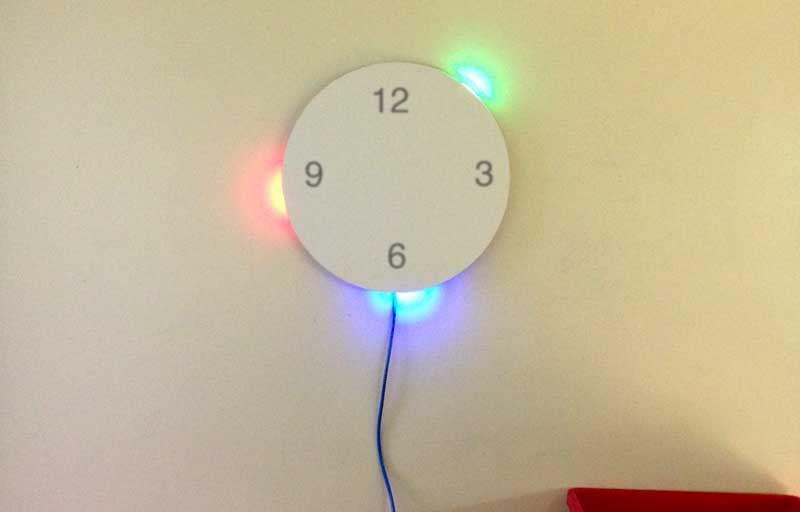 Often inspiration for a project comes from a single part. This was the case here; I found a 1m strip of addressable NeoPixel LEDs, and decided that they would make a great clock. It helped that it had exactly 60 LEDs.
Controlling NeoPixels with an Arduino is pretty well documented, but developing the clock code actually took quite a while. There were a lot of small errors, like modulo problems and everything being off by one. Initially the timing was powered by the Arduino’s internal oscillator, however this proved to be quite inaccurate, so we ordered a DS3231 real-time clock. This brought the error down to a few minutes every year. This was still not great, so we moved to an EtherTen board (a Freetronics Arduino clone with built-in ethernet) and modified the sketch to sync with an NTP server whenever it detected an ethernet connection. So there are three ways to use this:
- Not connected to the internet: using the real-time clock only and losing a few minutes a year
- Always connected to the internet: ethernet cable connected, syncing with a time server every day keeping exact time
- Sometimes connected to the internet: just connect the clock to the internet every few weeks to re-sync time
This makes it a flexible device. With the prototype in our lab, we chose option 2. The clock needs at least one cable for power, and we had some ethernet ports with power over ethernet (PoE), so we could use the ethernet port to power the clock and sync the time, killing two birds with one stone. If you don’t have PoE available, option 3 is the best use case. One cable, occasional syncing, accurate time. Alternatively, buy a better RTC. Ours cost under $3.
The code is on GitHub.
Rejuvenating an old lolly dispenser with UQ ID card scanning
A previous student had taken an old lolly dispenser and hooked up an Arduino to the main motor. Pretty cool, but there was no way to tell who had actually been using it. All UQ staff and students carry around an ID card, so we decided to hook up a scanner and log the use of the dispenser with IDs. Cue the Raspberry Pi.
When it comes to electronics, the lab pretty much has it all. So we got a Pi, a USB NFC sensor, a small LCD, and hooked it all up. I wasn’t really involved in the back-end of this, but I know it’s using Node.js and MongoDB for the server, and MQTT messages to talk to the Arduino. The basic flow is shown below:

It’s really neat, and works well. The flow could easily be adapted to other devices or identification technologies.
Experimenting with recent breakthroughs in conductive materials
Developing…
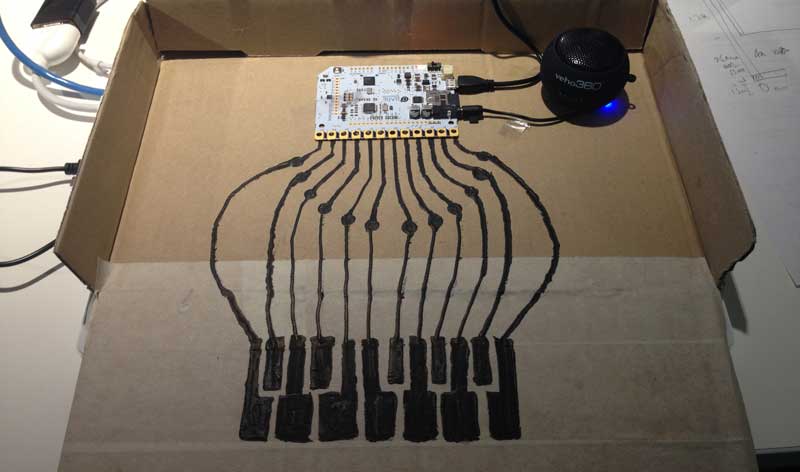
These days, when a technological breakthrough comes through, the startups making money off it aren’t far behind. The breakthrough: conductive materials, such as ink or paint. The products: learning circuits with drawing, making music with paint.
As a learning innovation lab, these were things we just had to try. The first product I’ll be discussing is
Setting up a DIYCNC milling machine for etching PCBs and engraving objects
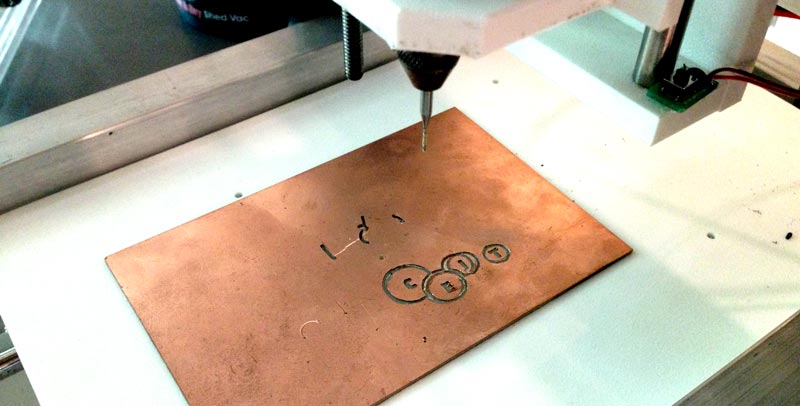
A previous student had purchased and constructed a DIYCNC milling machine, however they had not managed to complete the wiring. Perhaps due to the fact that it required manually soldering a pin-out from a 25-pin RS232 jack. This job fell to me, so I wired everything up and got testing.
As with most of these kit devices, they are powerful tools but require a lot of time tweaking to get right. We first tested with pieces of cardboard double-sided-taped to the plate. We had problems with the motor slipping or getting stuck on the Y axis, however when we ran at half speed this problem vanished. The issue is that the two Y axis poles aren’t completely parallel, so that’s something to fix in the future. Once we had the machine successfully engraving cardboard we moved on to copper, which proved to have challenges of its own, but were eventually overcome.
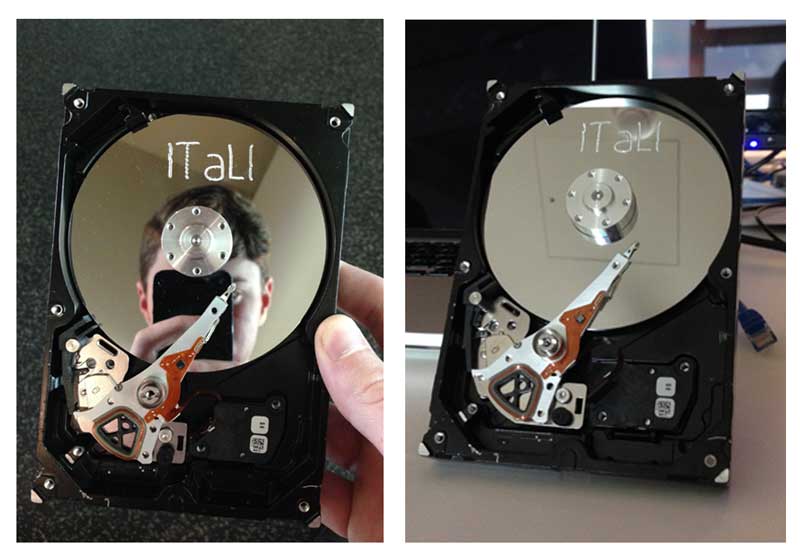
When we became a bit more confident, we even took apart an old hard drive and engraved the disk with the name of our lab. It’s something cool for people to see as they walk in.
Learning how to use the Raspberry Pi micro-computer
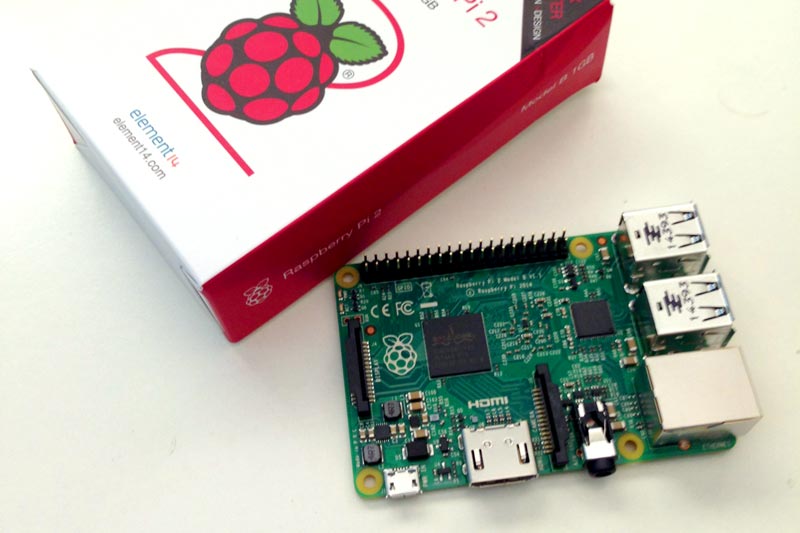
Ever since the Pi hit the market in 2012 I’ve wanted to get my hands on it and try it out. Due to lack of time, expense, and generally having no real need, I hadn’t ever got around to it. Luckily, that changed.
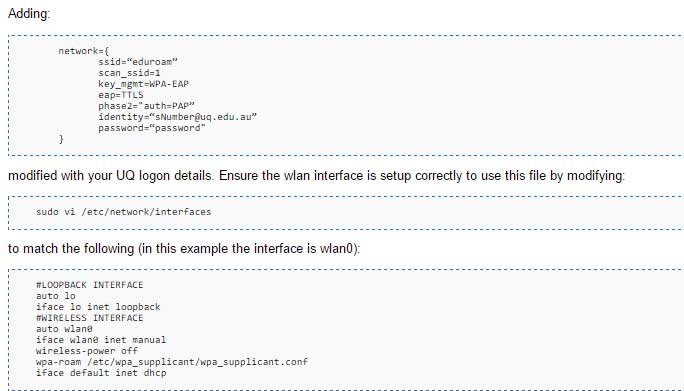
I didn’t have any particular projects that needed it, but people around the lab use them all the time and I’d heard that getting them connected to the University’s eduroam network was a pain point. I decided that as well as getting the basics up and running I would get it connected and write a guide for my peers.
Now the Pi is thousands of times more powerful than Arduino, but running Raspbian isn’t fast by any measure. I only had two USB ports to work with (using the Model B) and one of these was taken up with a Wi-Fi adapter, so it was mouse OR keyboard. Not fun. But once it was set up I switched to ssh and this is where the Pi shines. This is the perfect replacement for my old Dell desktop acting as a home server in my cupboard. No heat, no fans, no fuss. We have 3D printed cases as well, which helps protect the bare electronics.
I ended up getting the eduroam network connected and wrote my guide. When the summer ends, I’m ordering a Pi for myself.
Twitter controlled christmas lights
Since I’d already set up LED lights at home to be controlled over the internet, this was dead simple. A Python script harvests commands from twitter that were posted using a specific hashtag. Relays these over MQTT (everything here runs through a Mosquitto MQTT server, because Internet of Things). An Arduino listens then flashes some christmas lights we bought from the local store. Basic circuits, transistors, etc. Easy stuff.
Fixing and using a 3D printer
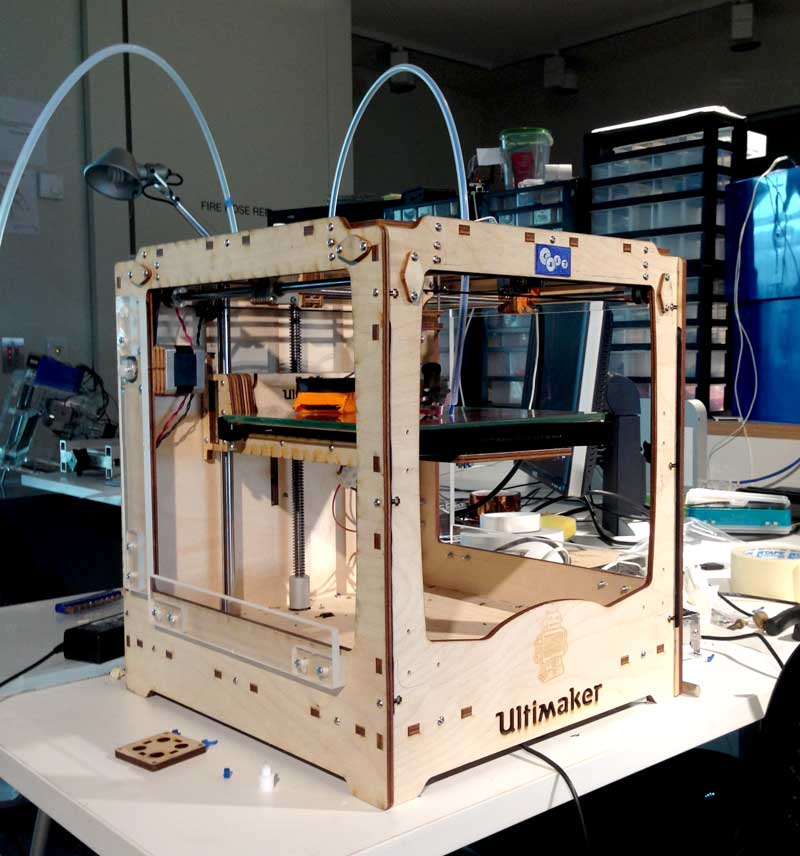
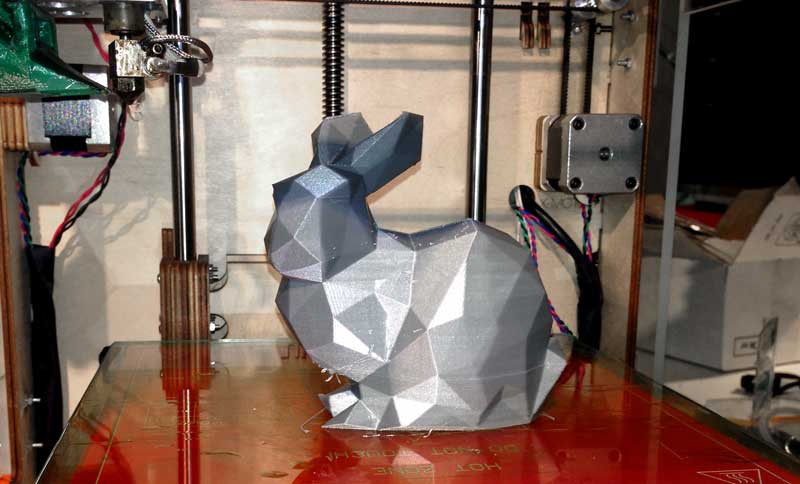
We have an Ultimaker 3D printer. Some previous students had tried to perform an upgrade to give the machine a dual nozzle for multicoloured prints. It had been a disaster and the whole thing had stopped working. A few of us worked on this, taking the machine apart, cleaning things up, trying to get it working, failing, repeat. Eventually we got everything working and made some cool stuff.
