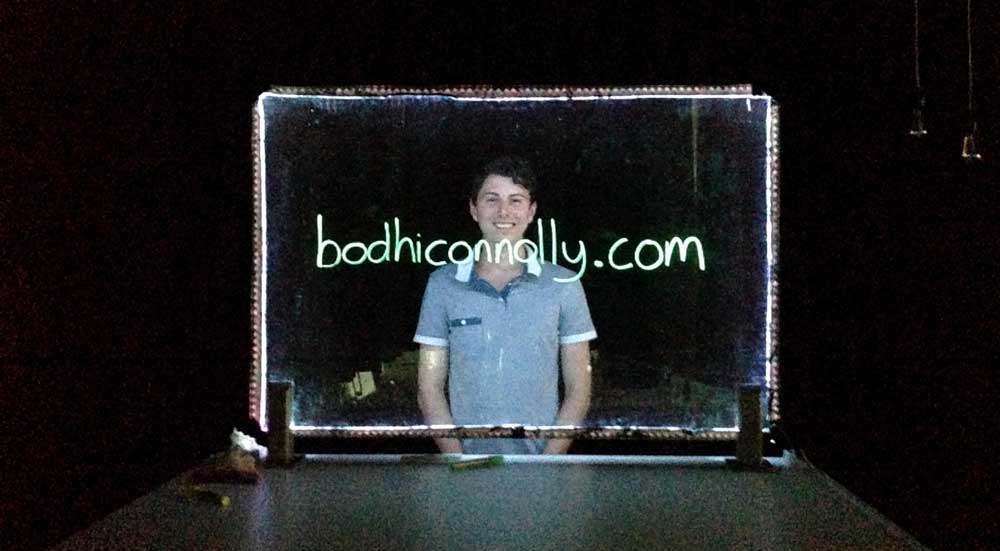
One of the goals of the University of Queensland’s learning innovation lab where I spent my summer is creating engaging videos for MOOCs and the flipped classroom. We have a multiplicity of tools to accomplish this, from basics like chroma keys and tablets to advanced 3D animation, but we’re always looking for more tricks to put up our sleeve.
The Idea
Northwestern University lecturer Michael Peshkin has created one such trick. It’s called the lightboard, and it’s basically a glass whiteboard made to glow with strips of LEDs. We wanted one. Of course, there are other things to consider in this environment, one of which is budget. We already had all the camera and lighting gear, but Peshkin spent over $2000 for his board. This was a lot to swallow for an unproven product, so we made a compromise: a small prototype, that would be as cheap as possible while demonstrating the full functionality of the design. What would be called, in the startup world, a minimum viable product.
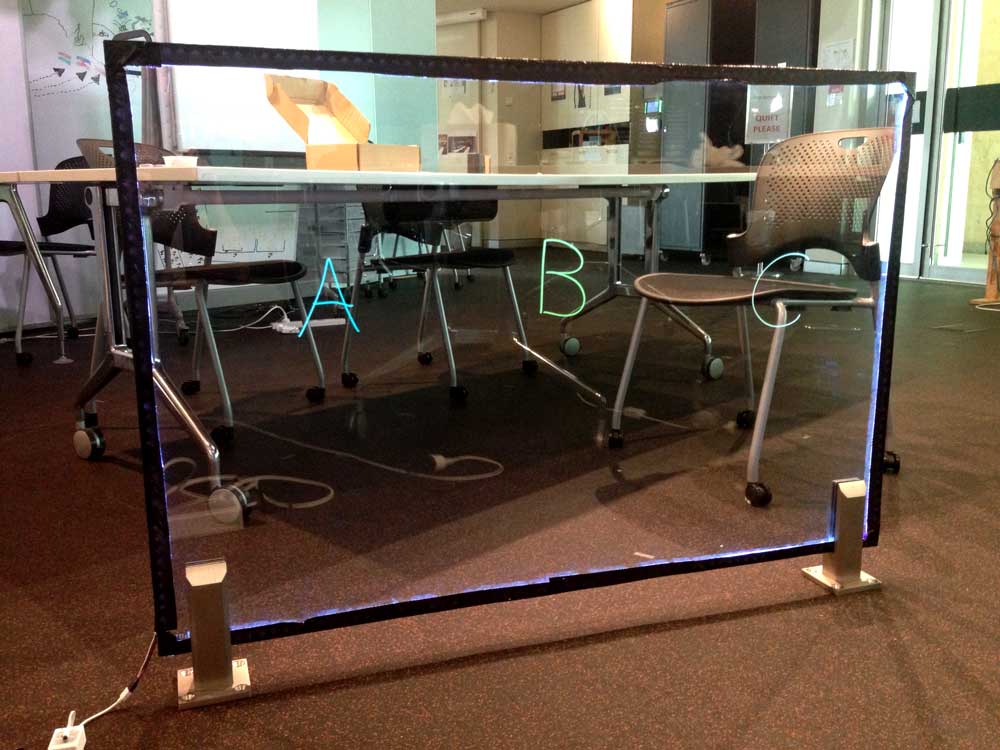
The Build
So, the total cost of this lightboard? $255. Broken down, that’s:
| Material | Cost |
|---|---|
| Tempered glass (1200x800x12mm) | $60 |
| 2x Glass-holding spigot | $120 |
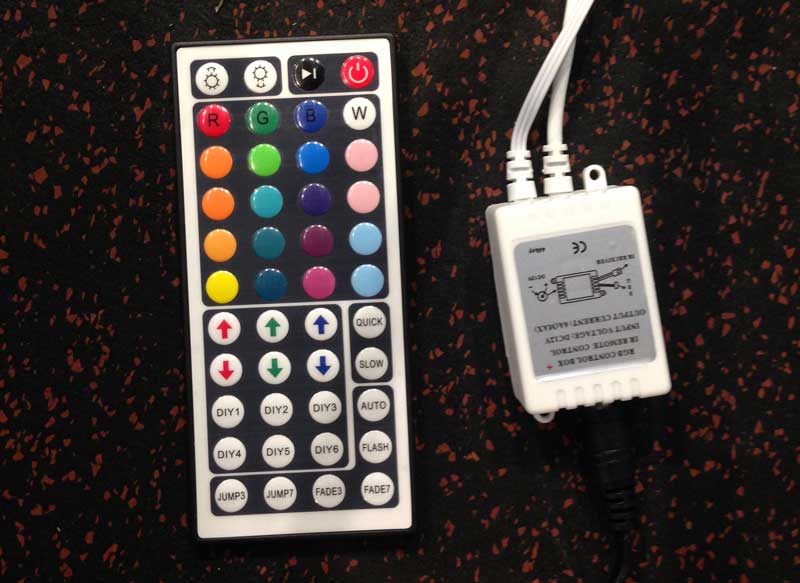
| 5M 5050 RGB LED strip (w/ controller and PSU) | $30 |
| Wood for base | $20 |
| Liquid chalk markers | $20 |
| Misc screws, tape, etc | $5 |
The glass and spigots actually came from a local pool fencing shop. It was the cheapest, easiest solution we found. The sturdier, more flexible option for a frame is T-Slot aluminum, however this turned out to be prohibitively expensive for the prototype.
The construction for this board is pretty self-explanatory, but I’ll provide an outline:
- Create an I-shaped base.
- Attach spigots.
- Insert glass.
- Surround glass with LEDs.
- Tape LEDs to frame.
- Clean glass (this is the hardest step!).
The science
The reason why the LEDs light up the text, but not the rest of the glass, is really interesting. Most people have heard of total internal reflection. When you shine a light through the edge of a pane of glass, the light bounces along, and each time the beam hits the side of the pane it has an angle of incidence that is close to 90 degrees, and always greater than the critical angle. So the light is totally internally reflected, and never escapes through the glass. When you look at this from the opposite end of the glass, it looks pretty cool.
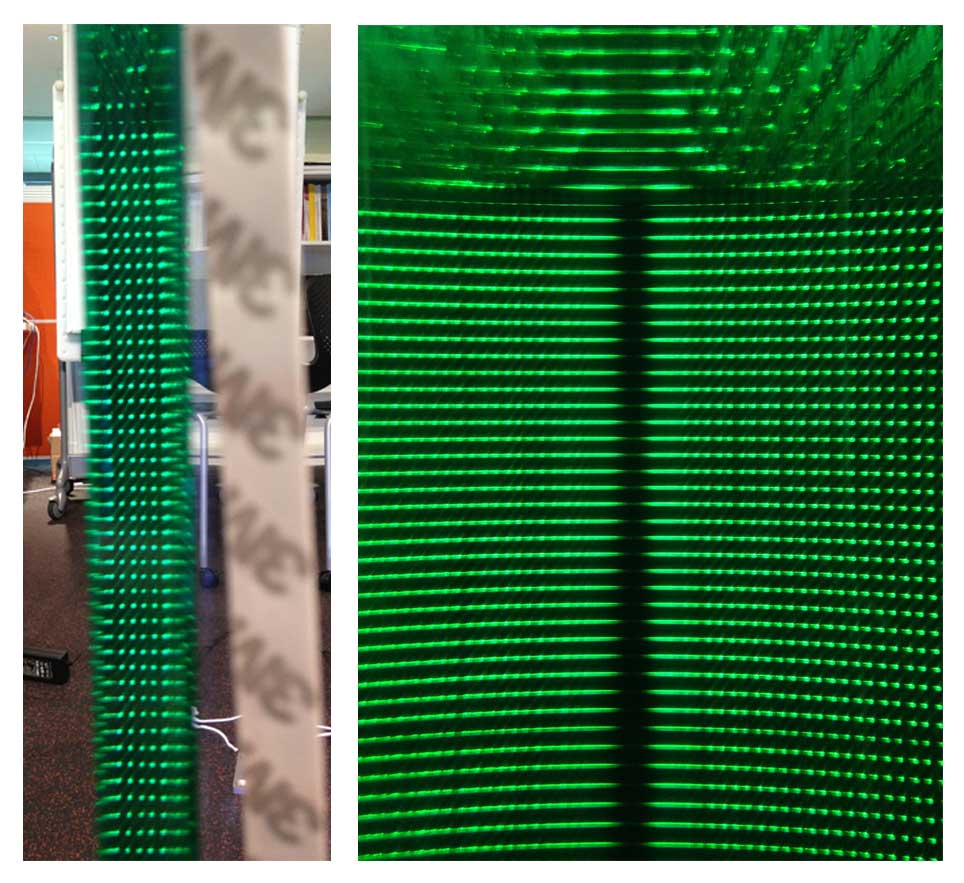
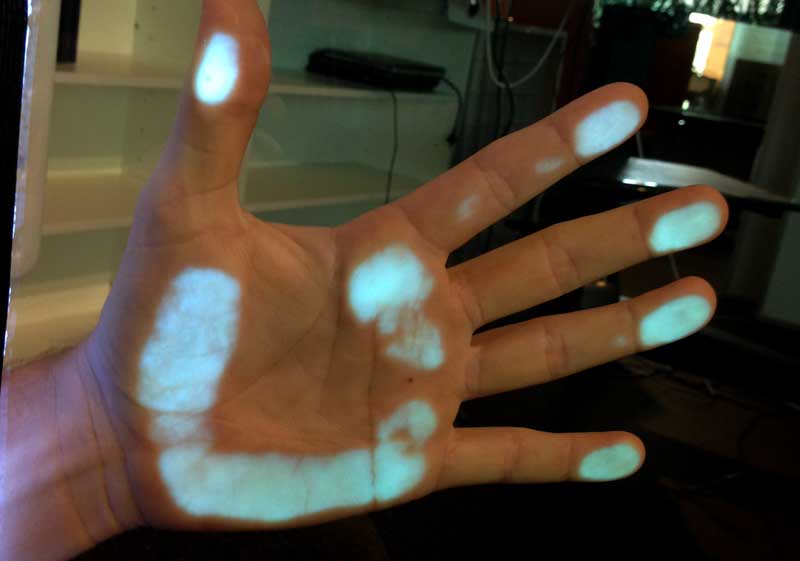
But that’s just high school physics. What makes the text shine is frustrated total internal reflection. When a third medium is placed between the glass and air, it allows the light to escape, illuminating the text. This works just as well for other objects.
The rest of the setup
The camera we are shooting on is the lovely Panasonic HC-X1000. It shoots in 4K, allowing us to shoot with the lightboard frame in shot, and then crop it out in post while still mastering higher than 1080p. We have two new Dell 27” 4K monitors, so we can watch in 4K as we shoot and less-than-4K-but-higher-than-1080p when we edit.
Lights on the talent are ikan LED panels, in a simple three point setup. Lapel mic to get high fidelity audio behind the glass.
Improvements
Coming soon: need for a backlight, squeak, cleaning, electrostatic sticky templates
Outcome
This project was very stimulating. I’m not a hardware person, normally focusing on electronics and software, so to take this hardware project from idea to reality was a rewarding learning experience. The staff really like the prototype, and we’re working together to test it out with some upcoming videos. I’m glad that I may have played a small part in enhancing education at UQ. Depending on whether it is needed, someone (not me!) may build a larger board in the future. I can’t wait!
